The Art of Stained Glass
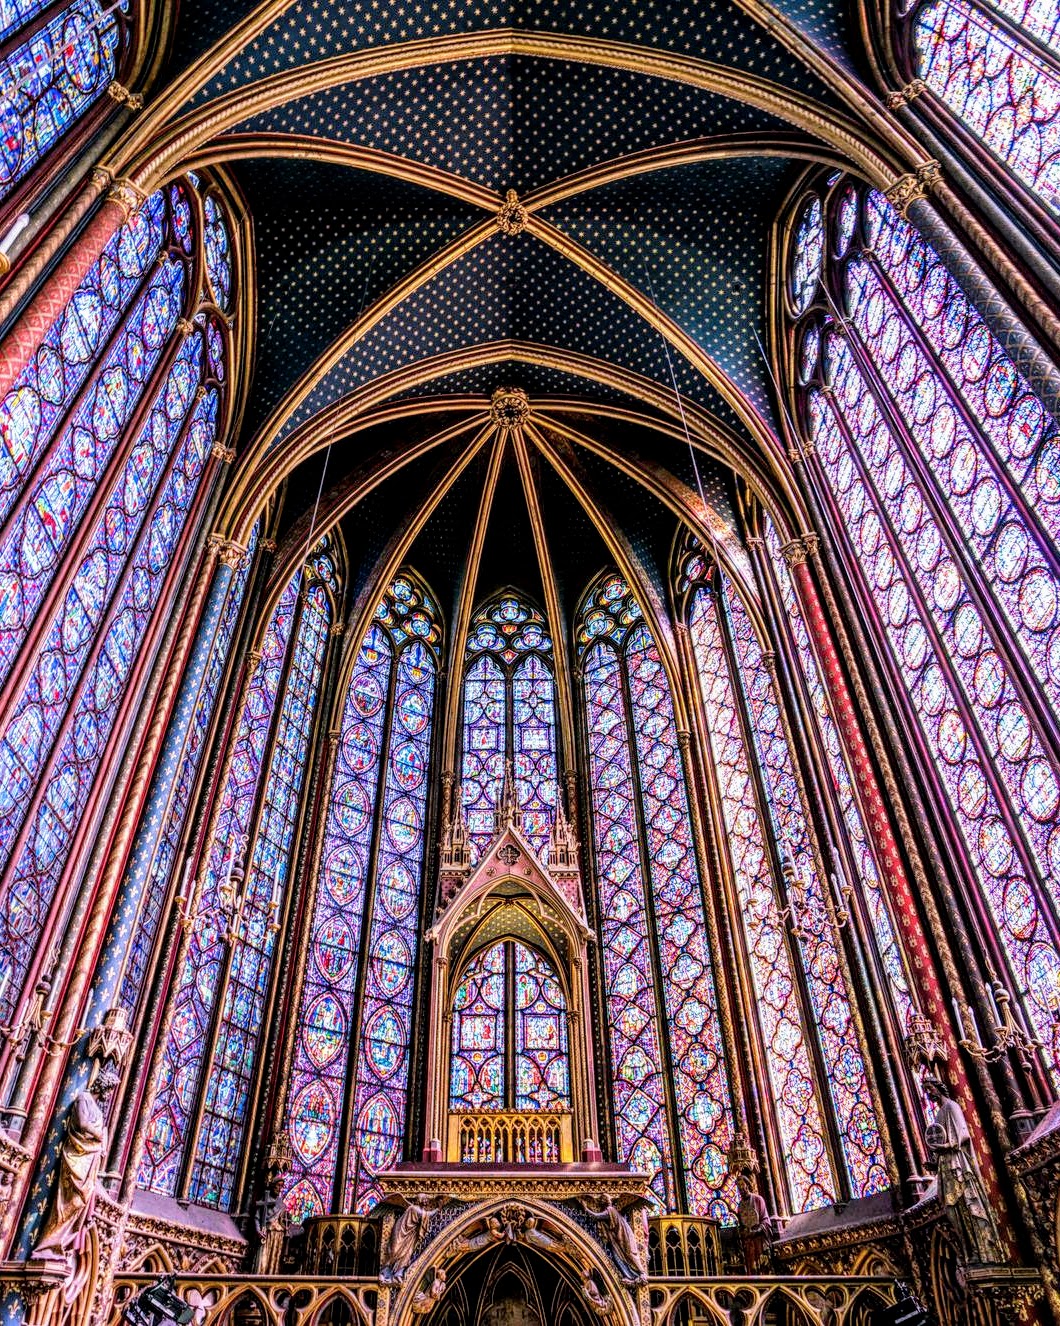
Stained glass art is more than just a visual spectacle; it's a powerful symbol of cultural heritage. Spanning various times and places, it represents a universal appreciation for light, geometry, and artistic expression. These elements allow stained glass to connect diverse cultures and eras, embodying art's timeless role in conveying spiritual and philosophical ideas.

Throughout history, stained glass has illuminated churches, mosques, and public spaces, breathing life into stories with its vivid colours, filtering light in a way that creates a serene and contemplative atmosphere. The colours and patterns cast by the glass are often intended to inspire a sense of peace and connection to the divine.
At Idlewild Glassworks, we aim to honour this rich legacy while infusing it with our own contemporary style!
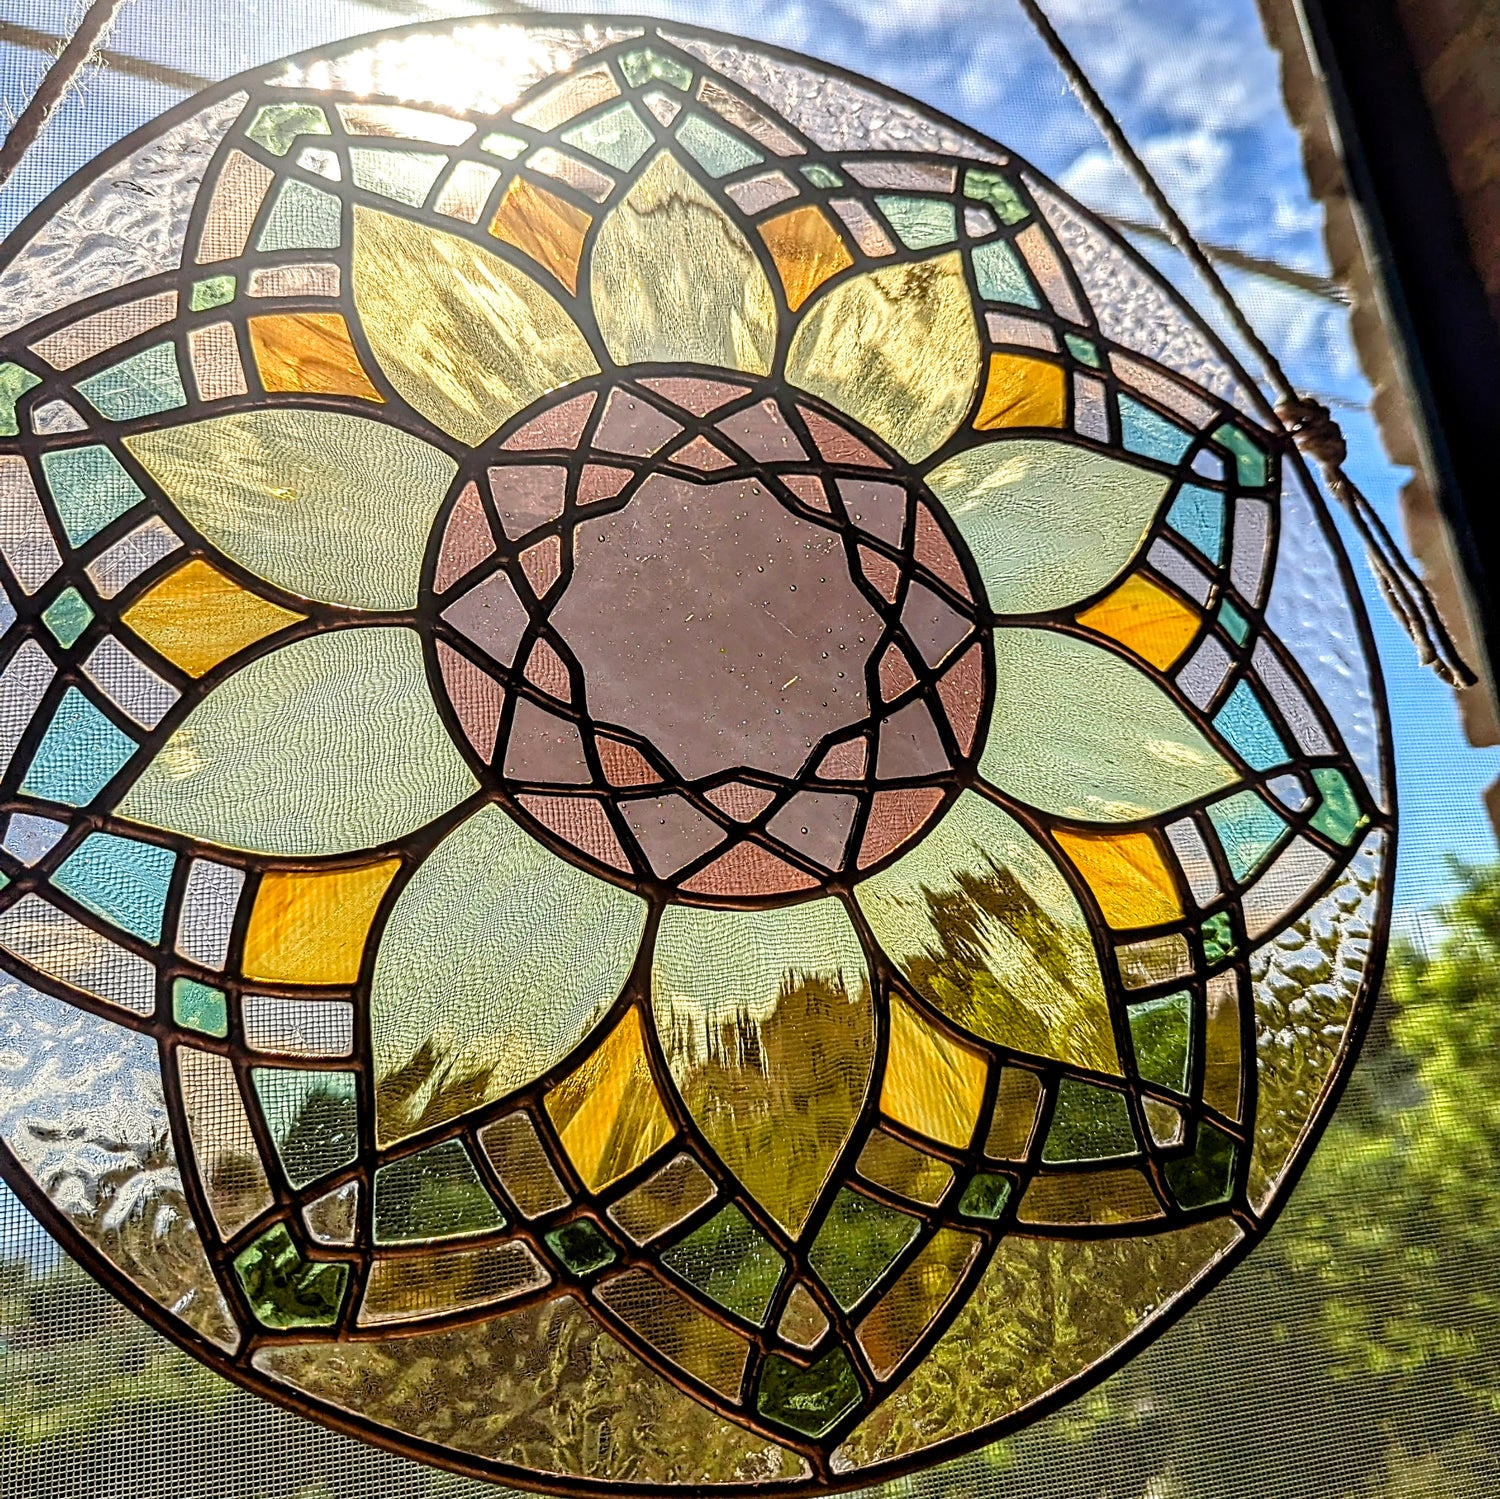
Stained Glass is a centuries-old craft, so, it might not be surprising to hear that there are several different ways of creating a stained glass piece.
At Idlewild Glassworks, we use the Tiffany method (aka the copper foil method), which revolutionised stained glass in the late 19th century. Developed by Louis Comfort Tiffany, this technique involves wrapping the edges of glass pieces in copper foil, allowing for intricate designs and finer details that traditional lead came methods cannot achieve.
lets talk about
Our Process
How do we make stained glass artworks? This includes, but is not limited to: design, glass selection, cutting, grinding, fitting, copper foiling, soldering, leading, patina application, wax and polish.
And, A LOT of cleaning!
You can follow our process for making stained glass artworks below.

Design
The very first step is creating a design that works with stained glass. Glass cuts in straight lines, so you can’t cut inside corners or angles!
This means careful consideration goes into the design, and why some lines may seem unnecessary to the untrained eye - but that's what gives stained glass its unique look!
The ultimate goal is to create a design that allows the glass do the talking!
We use Adobe Photoshop and a Wacom tablet to draw up our designs - we then print and cut our design to assign to the glass we choose..
Selection
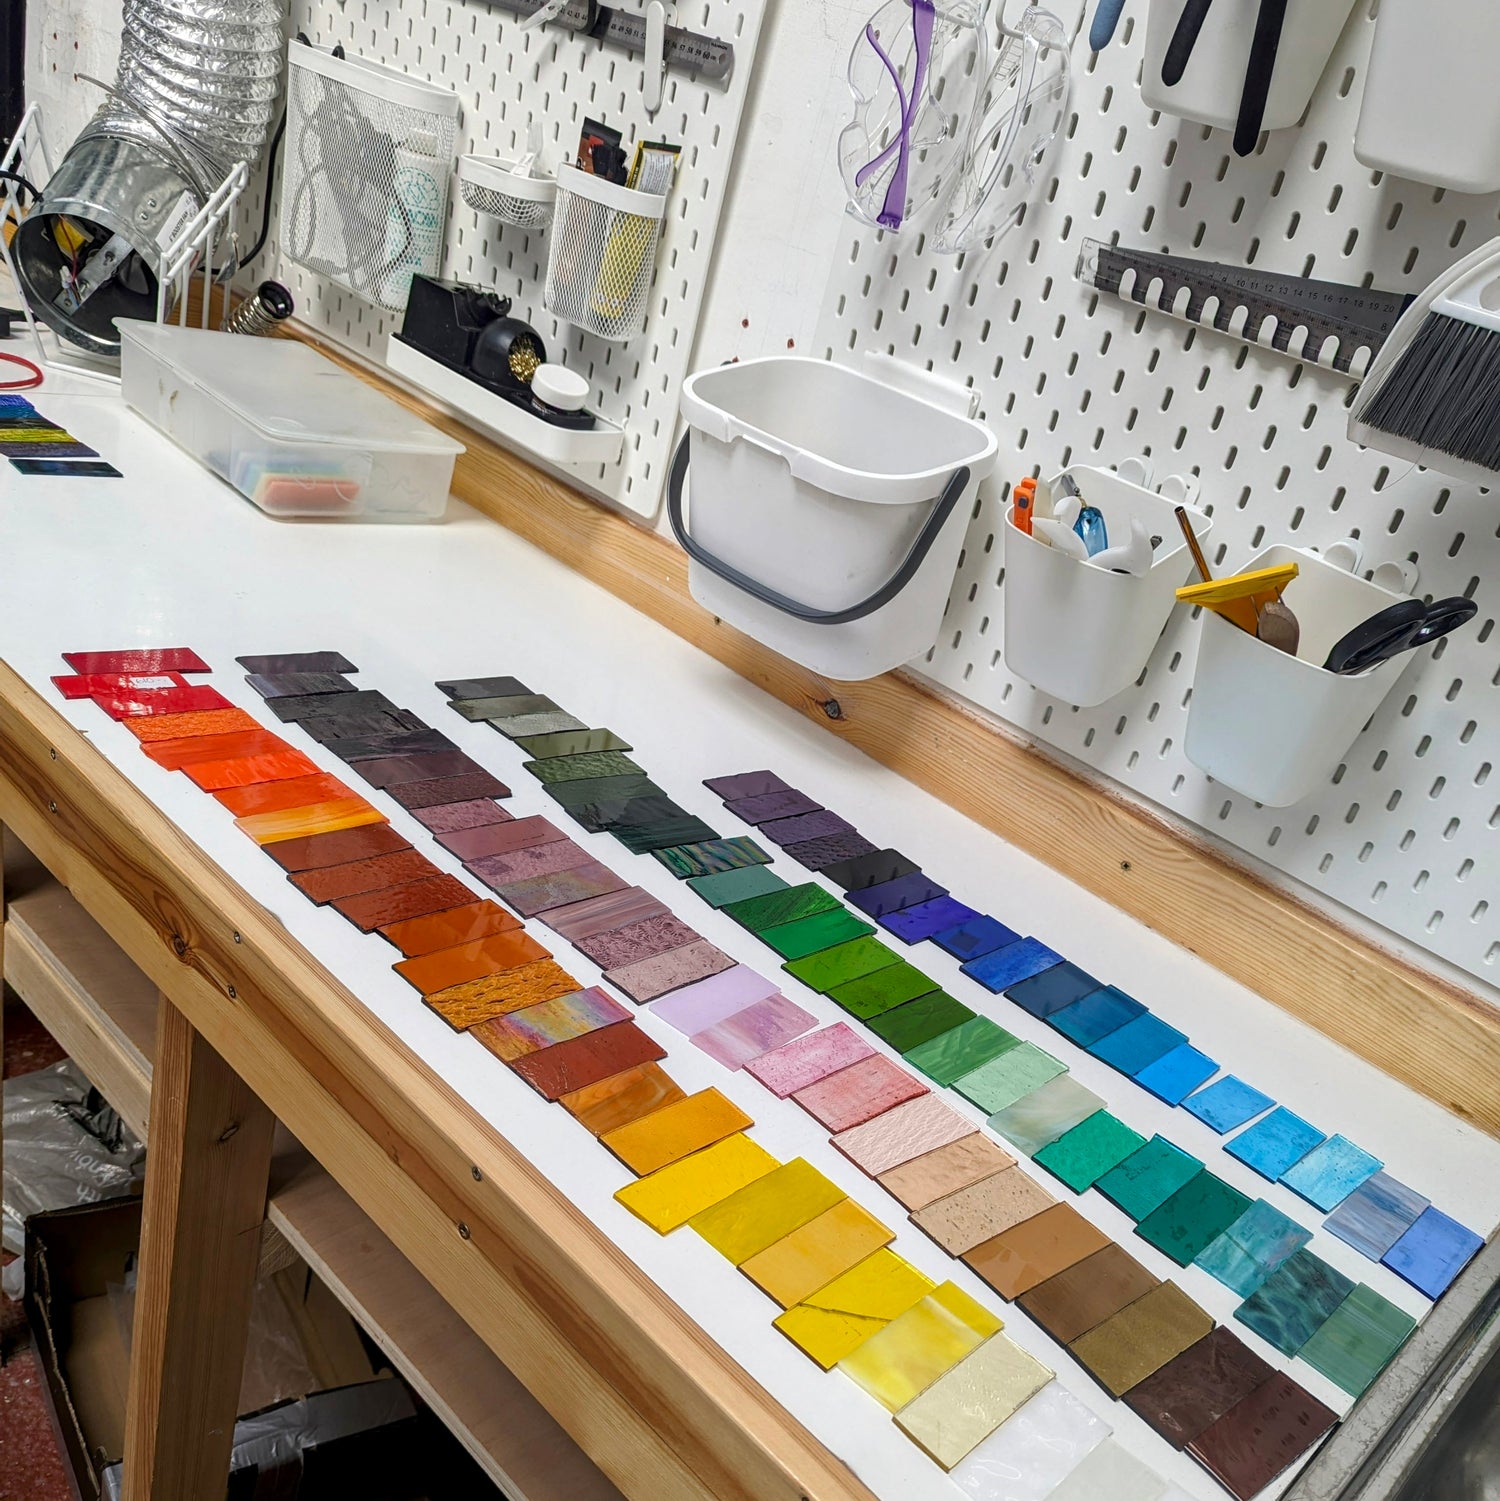
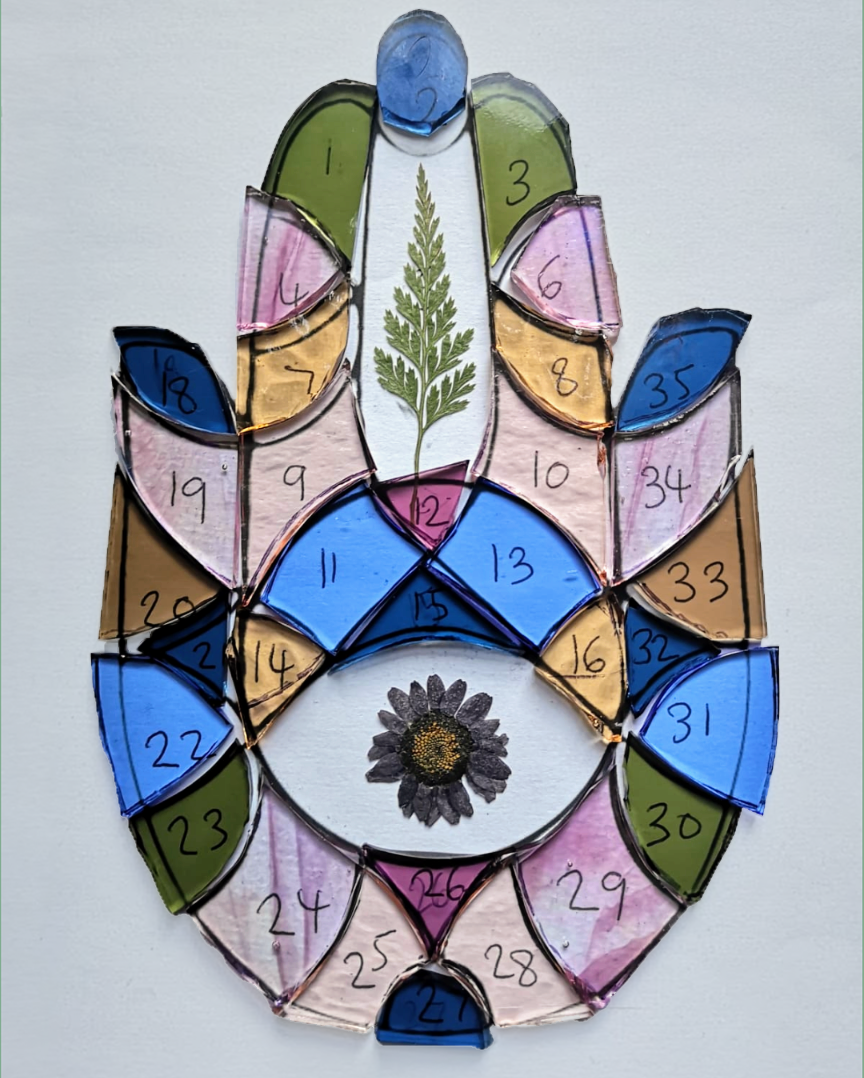
Once we have our design ready to go, we then go through the process of selecting glass! Glass comes in an array of colours, textures, some with special effects like mottled, seeded, wispy, and iridescent.
Choosing a colour palette and balancing colour, texture and effect can be time-consuming! Stained glass changes colour and vibrancy depending on the light, which means the pairing has to work for both. This is a key part of the design process since we want to pick the most effective glass to bring out the design's potential, and we don’t want to waste glass.
The glass has to be right!
Cutting
After carefully selecting the perfect glass for the piece, we then have to cut the glass into the unique shapes that make up the design.
We use a glass cutter tool, shaped like a pencil, that has a small carbide wheel at the tip. We score the shape, often bit by bit, to make sure the glass will break as we want it to.
We then use our the back of our cutter to tap the score and use specialist pliers to encourage the glass to break along the score line. These pieces are often rough and don’t fit together yet! Even at this early stage we can see our design starting to take shape.
Grinding
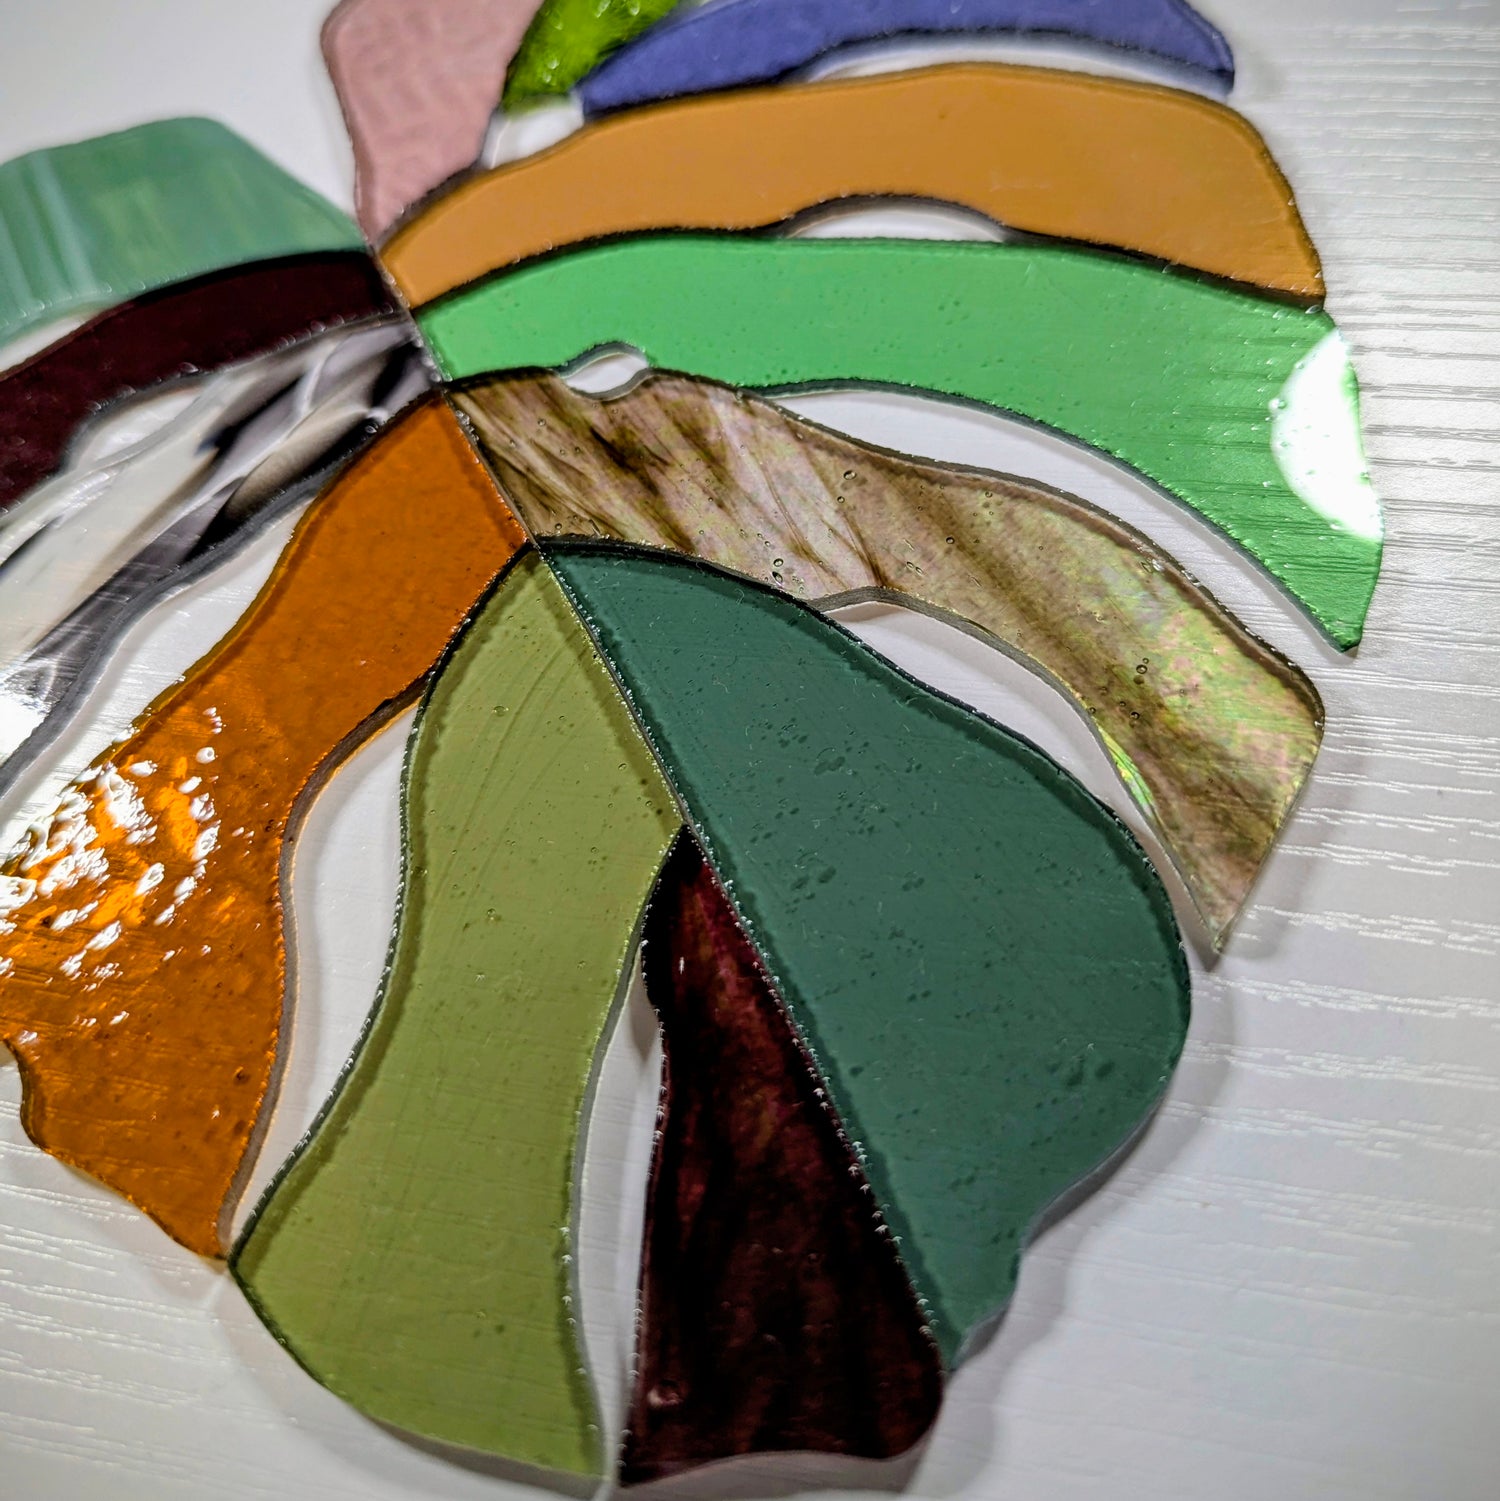
On to grinding! Without a doubt, this can be the most labour-intensive part of the process, aside from cleaning! We use a water-cooled diamond bit glass grinder to grind down jagged edges and shape the pieces precisely so that they all fit together. This part of the process goes hand in hand with fitting and pinning; as we grind, we are constantly checking and refining the fit. After this, the glass is cleaned thoroughly before the next stage.
Foiling
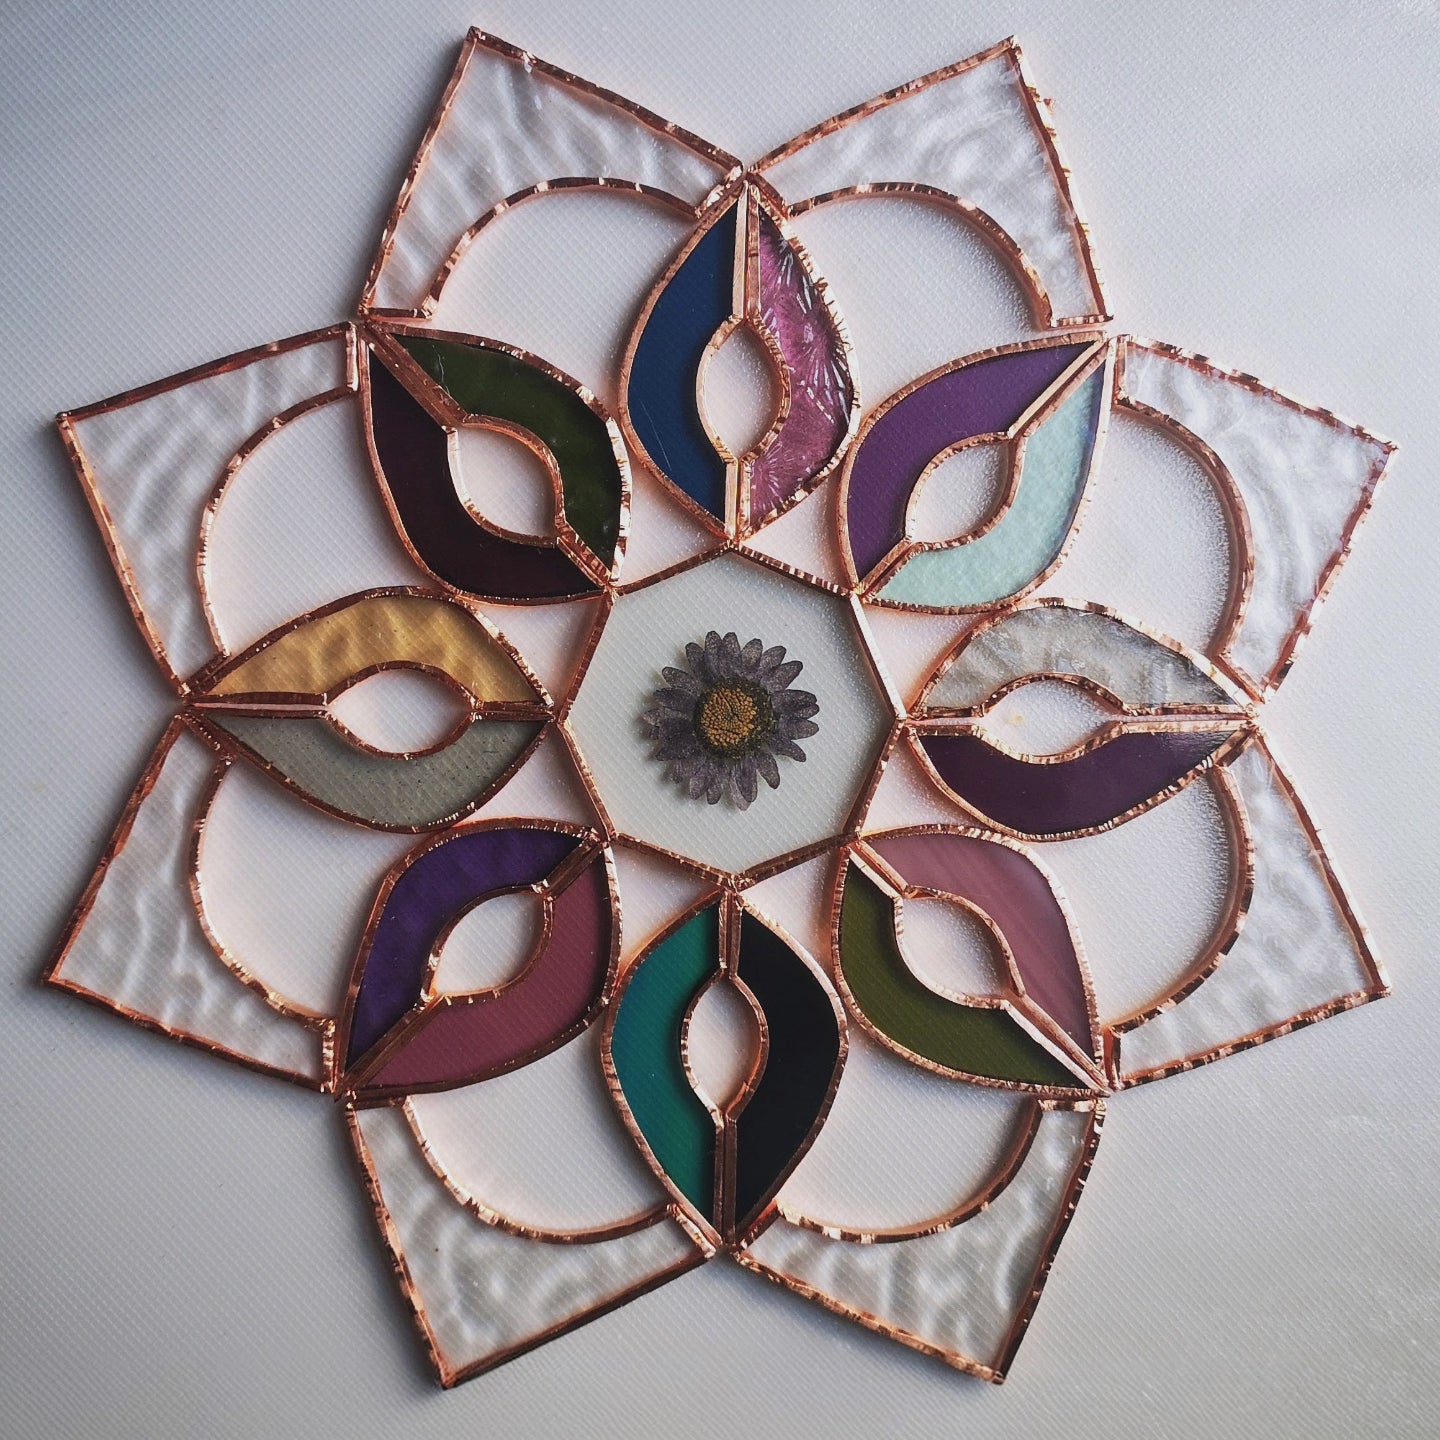
Solder doesn't adhere to glass; however, it does to metal! This is where the copper foil comes in. Essentially, copper foil is applied to create the riverbed for the solder, so it can flow in accurate lines to bond the pieces and create the visual design outline.
Foiling involves applying adhesive copper tape to the edges of each piece of glass, folding these over the edges carefully, and burnishing them thoroughly to ensure it sticks!

Soldering
The next crucial step is soldering, where we join the pieces together to assemble the complete design. Soldering a stained glass piece involves several key steps to ensure a strong and visually appealing result. Firstly, we get kitted up in goggles, gloves and mask, and turn on the fume extractor! Then, using a soldering iron and a chemical called ‘flux’ that helps the solder to flow, we carefully melt solder into the joints, creating a smooth, uniform bead that flows along the copper foil lines.

Patina
In order to change the colour of the solder to either copper or black, a chemical called ‘patina’ needs to be applied, to a thoroughly cleaned surface. Patina can be used to change the solder to either a vibrant copper or deep dark black! Its not always necessary to use patina, but it depends what youre trying to achieve.
Finishing Touches
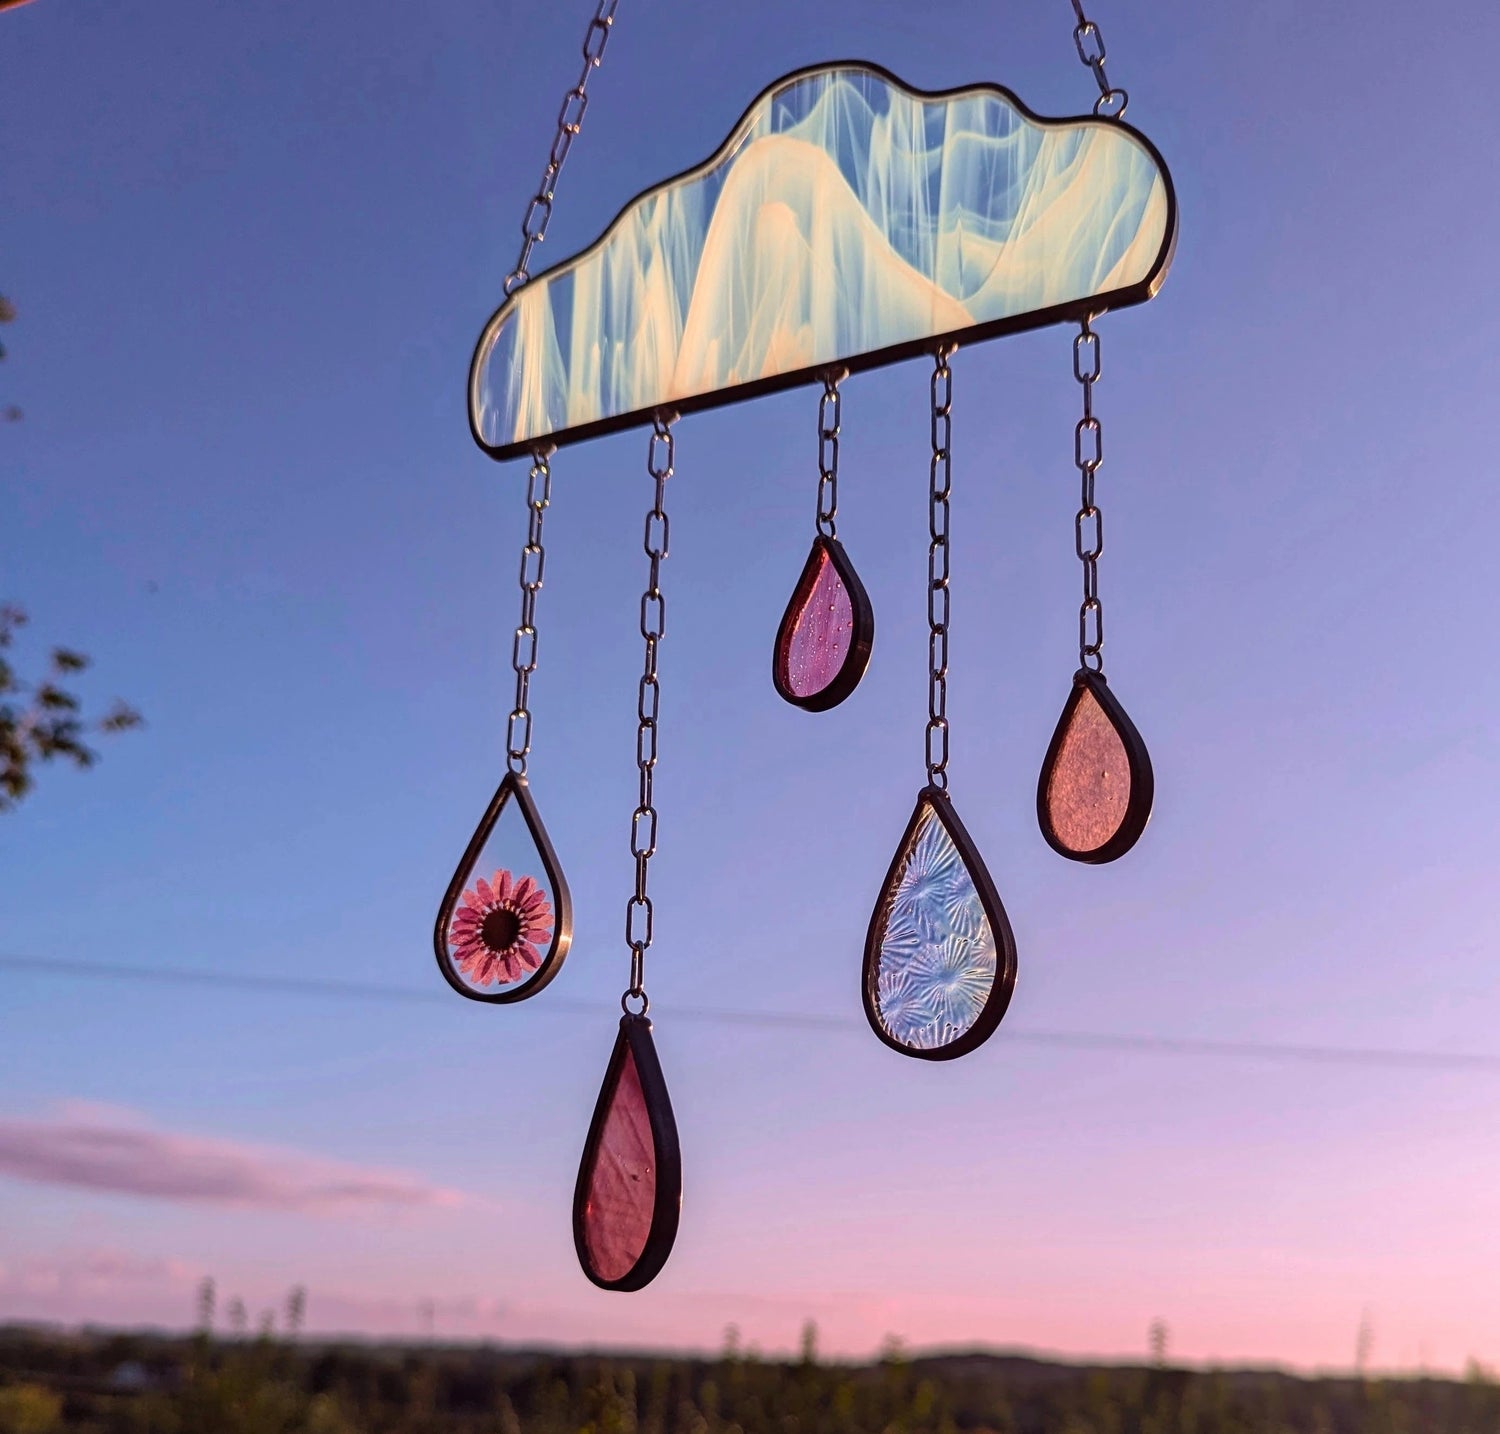
Finishing up involves several different processes, mostly cleaning! Also, pretty fiddly stuff, like applying jump rings, string, and chain so the piece can be hung.
When we are all done, pieces are cleaned again thoroughly, waxed for protection and polished to shine like the sun, ready to find their new home!

Health & Safety
Creating stained glass involves several processes that can be hazardous to health if not carefully accounted for. Handling sharp glass, high temperature soldering, working with chemicals and lead, preventing glass dust and fume inhalation - this is all part of our work!
If you would like to try making your own stained glass, please research health and safety precautions before you start!
Subscribe to stay in the loop for shop updates, new stock and special offers!
(We won't spam you, promise).
